4. Selected FABlab tool#
My selected fablab tool is the lazer cutter and 3D Repair workshop.
4.1 Motivation#
The lazer cutter workshop was very interesting to me. Ater it, i am now able to make 3D prototypes out of cardboard, thin wood or other thin materials. In the following tutorial I will show you what i learned and the most important tips you should keep in mind while laser-cutting.
4.2 Differences between machines#
In the fablab we have two laser-cutting machines, the epilog and the lasersaur machine. The difference between them concerns colored surfaces. The lasersaur machine, which is the one i used, doesn’t recognize surfaces. In order to get them lasered, you must draw the outline in the svg file and then, inside the laser-cutter software, you must click the option “fill” .
4.4 Instructions#
Our task consited of three different parts:
- laser cut the svg house as an example
-
make a persoal 3D project that needs to be assembled
-
laser cut a grid or a line of circles using different velocities of the machine
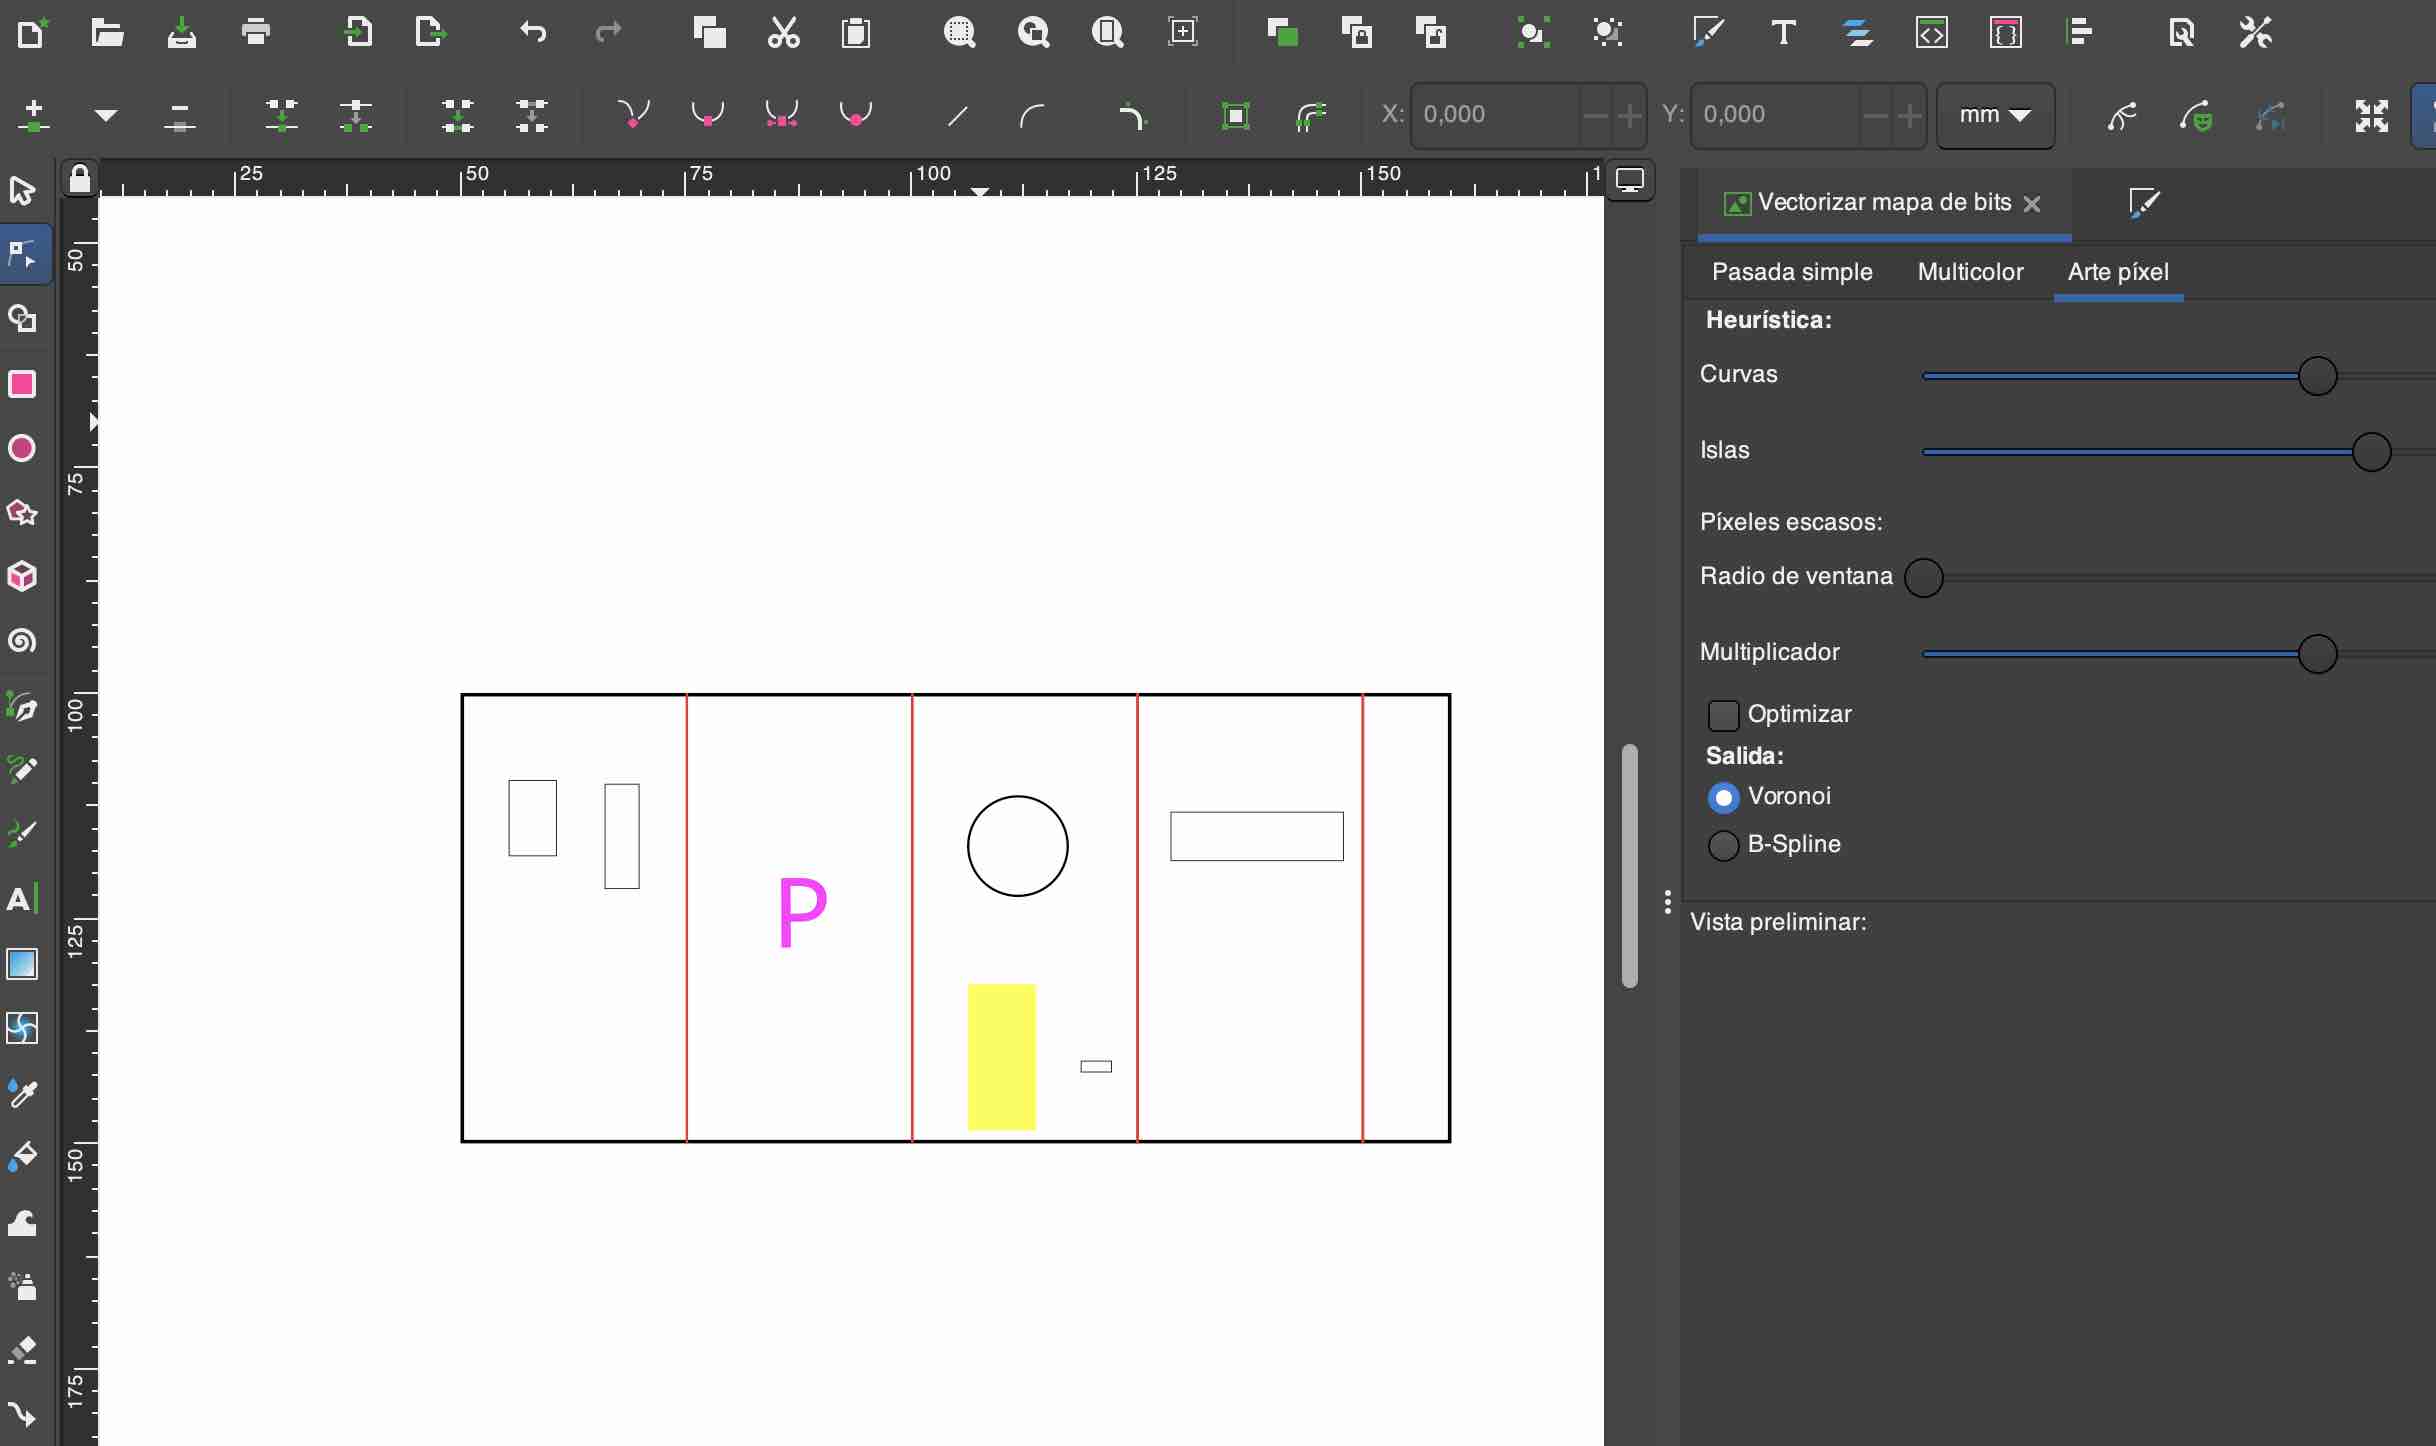
1 Prepare the file#
The app we use to edit our svg files is inkscape. You can easily draw different shapes, fill them and add text. It is also possible to download svg files from the internet, this link is very useful for this purpose:
-
First, configure Page Layout and Dimensions
-
Second, convert text or drawings into a “path” matrix so that the software can understand them. Click in “Vectorize bits map”
-
Third, color each component of your drawing a diffenert color. Each color will have a power and cutting velocity associated with it. The slower the velocity and the higher the power, the more the laser machine cuts. If the power is not high enough it will angrave things in the surface but not completly cut it.
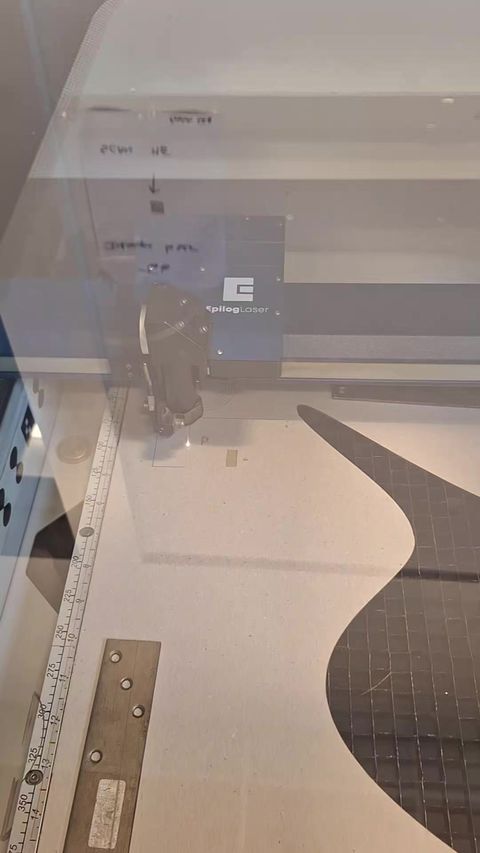
2 Laser-cut#
For refrence, I used thin carboard and these are the speed and power values i used
- cut: 300 speed 40% power
- engrave: 1200 speed 10% power
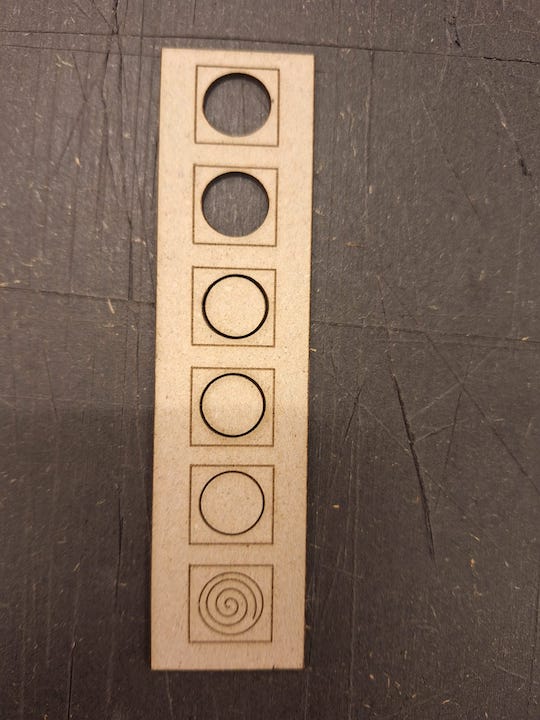
In this image you can see how i modulated the power, at a speed of 1200
Before cutting, click a button so that you know the area the machine is going to laser cut.
TIP: The order of the cutting layers matters. if you cut the outline first, you lightweight piece might fly away. Save it for last
Always monitor your cutting and let the material cool down a bit before removing it from the machine.
Safety:#
There are some safety precautions you should take into account. Make sure you are in a well ventilated room and there is a fire safety equipment nearby. If you need the machine to stop at any time there is a big red button near the mashine for this purpose.
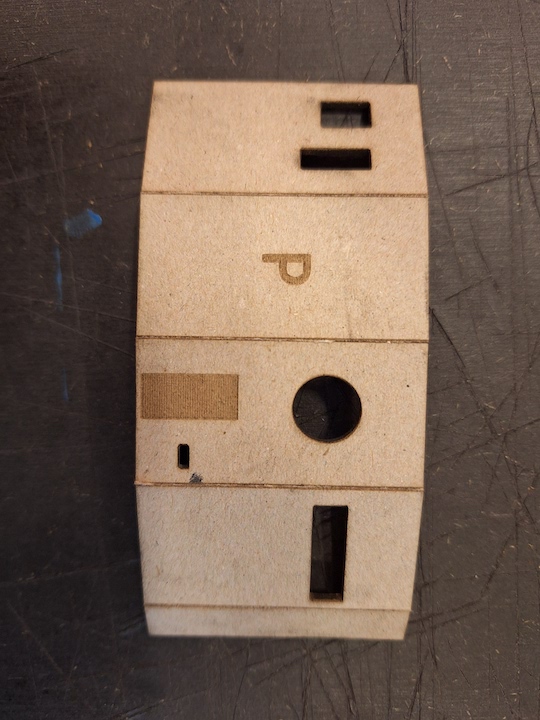
My final design:#
The image below is my final object, it is a personalized jewlery case with my name on it. Innitially I wanted a more intricate and unique design for my jewlery box but after seeing how long the engraving process took, specially when using various layers I decided otherwise.

I got the original design of the box that assembles from
3axis.co and then i customized it using Inkscape
Even if I laser cut the piece (with the help of my friend Kate) in two different materials, cardboard and a thin white cardboard, neither was thick and strong enough for my box to be assembled. The normal cardboard is too thick and is not rigid enough for gears while the thin white cardboard is not thick enough for the pieces to stay assembled.
This is my original design file
View SVG
3D printing repair#
1. Fixing an electric circuit#
Our mentor talked to us about the importance of giving objects a circular life
re-using, re-pairing, re-selling, re-cycling
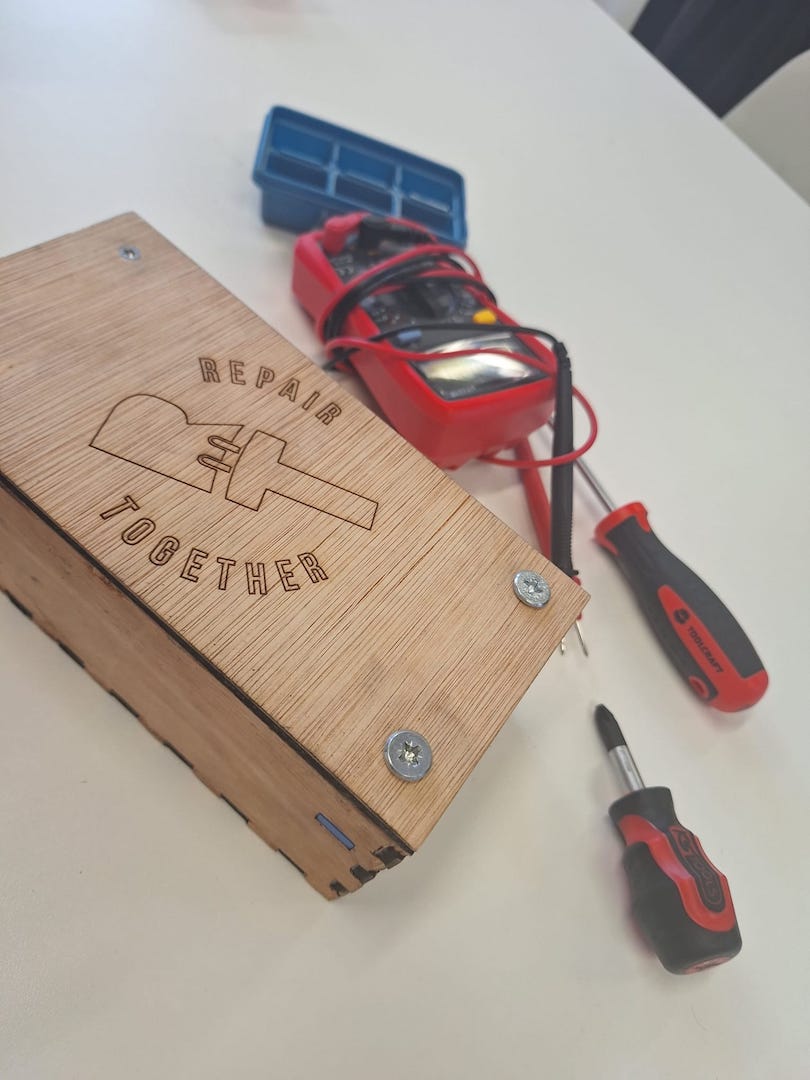
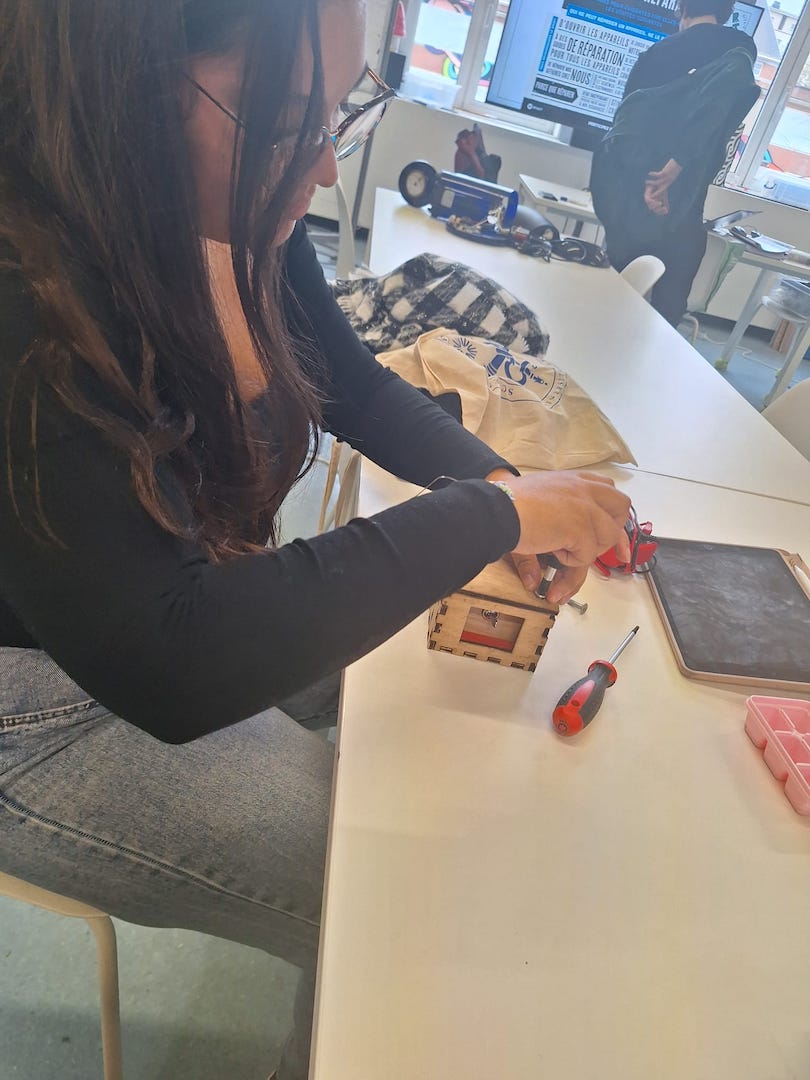
He then gave us a box with en electric circuit inside. Most broken objects have a similiar simple electric circuit inside. With a voltimeter we checked whether the current passed or not bewtween different pomits in the circuit. In this way, we detected the broken object within the box and we were able to fix the circuit. Hurray!
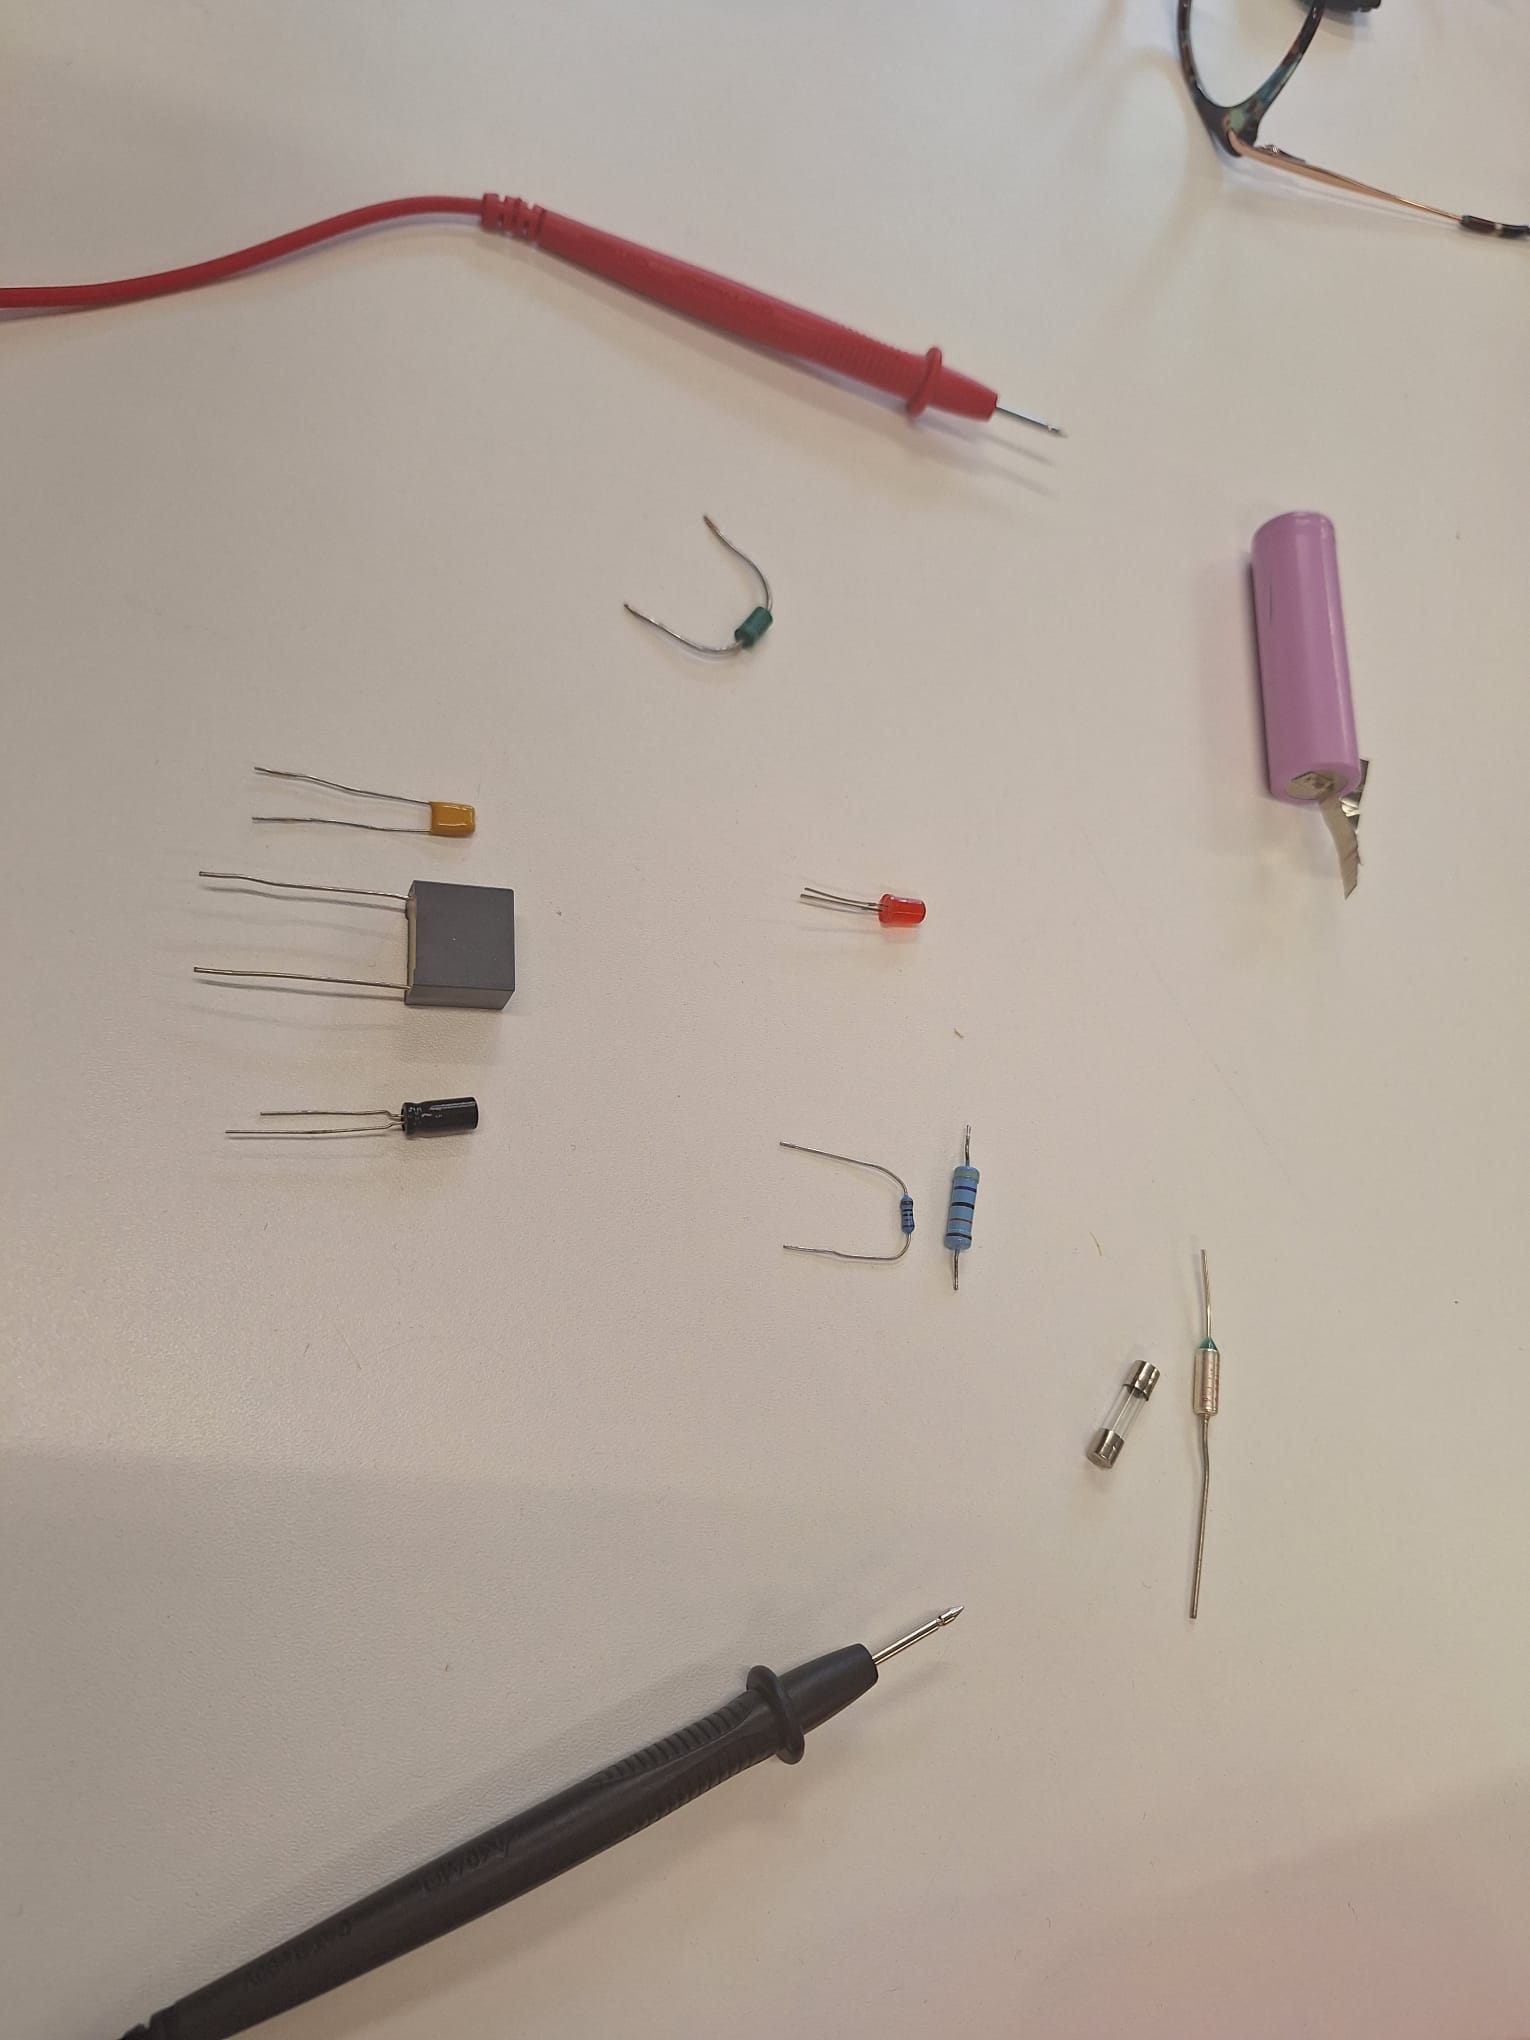
Here you can see the components of the elctric circuit: a battery, a few resitances, a let light and a capacitor.
1. Fixing an object with 3D repair#
For this part of the module, we made teams of 2 and chose and object to repair with 3D printing. My partner was Mathilde, a talented and kind biomedical engineer from Portugal. We chose to fix her ipad pen, which ha lost its pen cap.
We took measurements of the pen, drew a scketch of our pen cap and designed it on openscad.
Our design consist of a cylinder, with a circular hole and a rectangular hole for the pen plug.
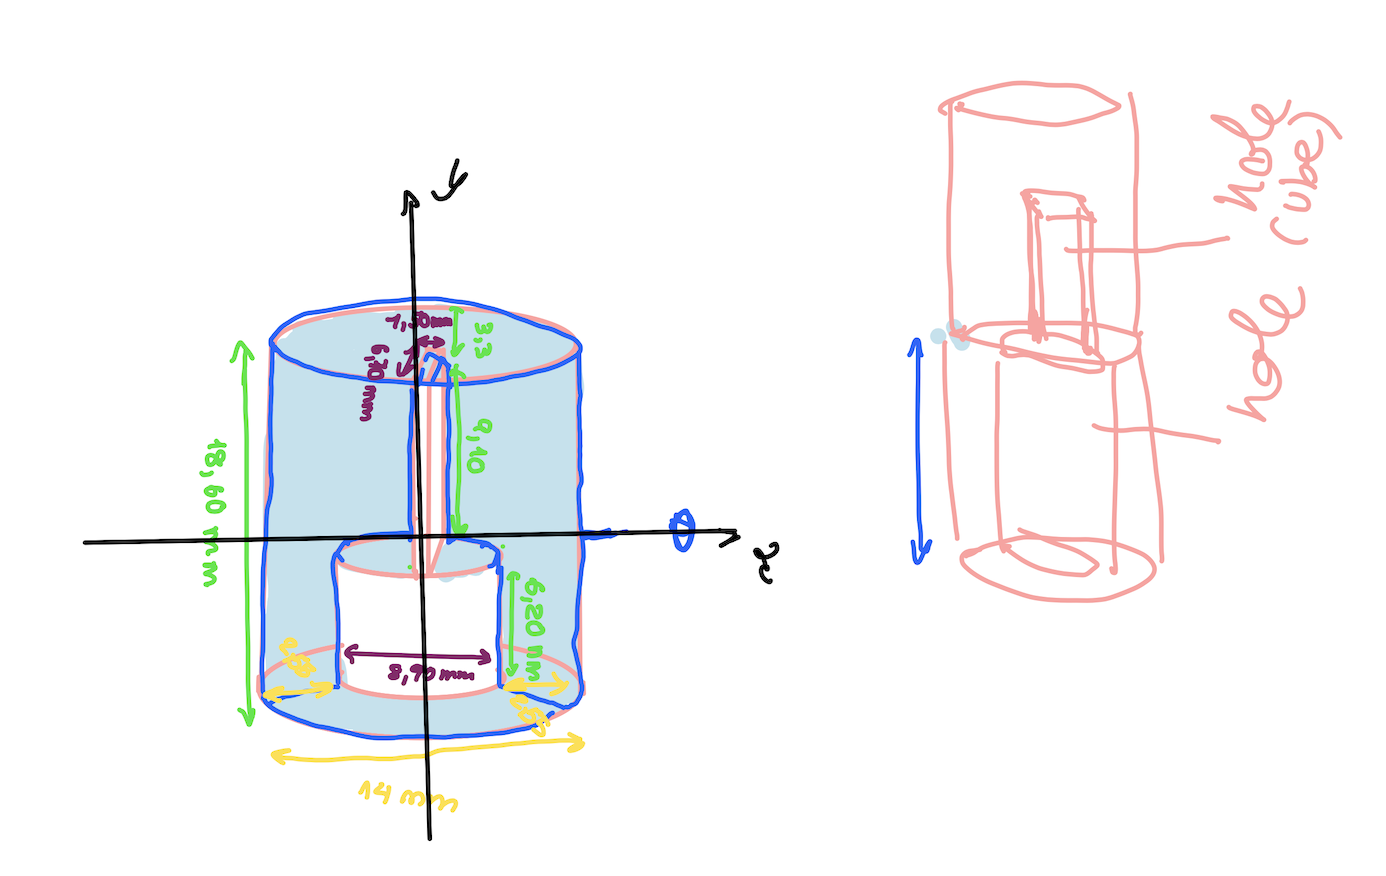
Even if i had used openscad once before, what was chellenging to us was knowing where the different holes started depending on the shapes. The shpae of the shere clearly makes the hole at the center of the sphere. however, the rectangular prism starts the hole in one of the vertices. Centering the prism just right was a challenge for us, we even failed at our first attempt.
Nevertheless, as you will be able to see in the video, we adjusted the masurements of our openscad object and reprinted the pen-cap so that it fit Mathilde’s pen perfectly. Overall, we are really happy with our results and proud of persisting when things don’t go as expected the first time around.
